Anyway, I still wanted her to have a costume, but I didn't want to do all of the usual stuff, or copy anyone because I like being unique. My husband is a gun enthusiast, so I decided on a 12 gauge shotgun shell. Yeah, it's kind of out there, but everyone thought it was quite interesting.
 < That based off of this >
It was pretty easy to come up with since the wrap I use has a place to insert the "body" of the costume. The casing is red, so I just used a spare red towel, but you can use any fabric you want that matches the round you're trying to imitate.

I free-handed the design, but I'm sure you could cut yourself a stencil, or try some other way of printing onto your fabric.
The hat needed to be able to stay rigid, but be gentle on baby's head. Felt is perfect for that, and it's super cheap. Just measure your baby's head with a measuring tape and cut to size. You may need to use two pieces if your felt isn't long enough.
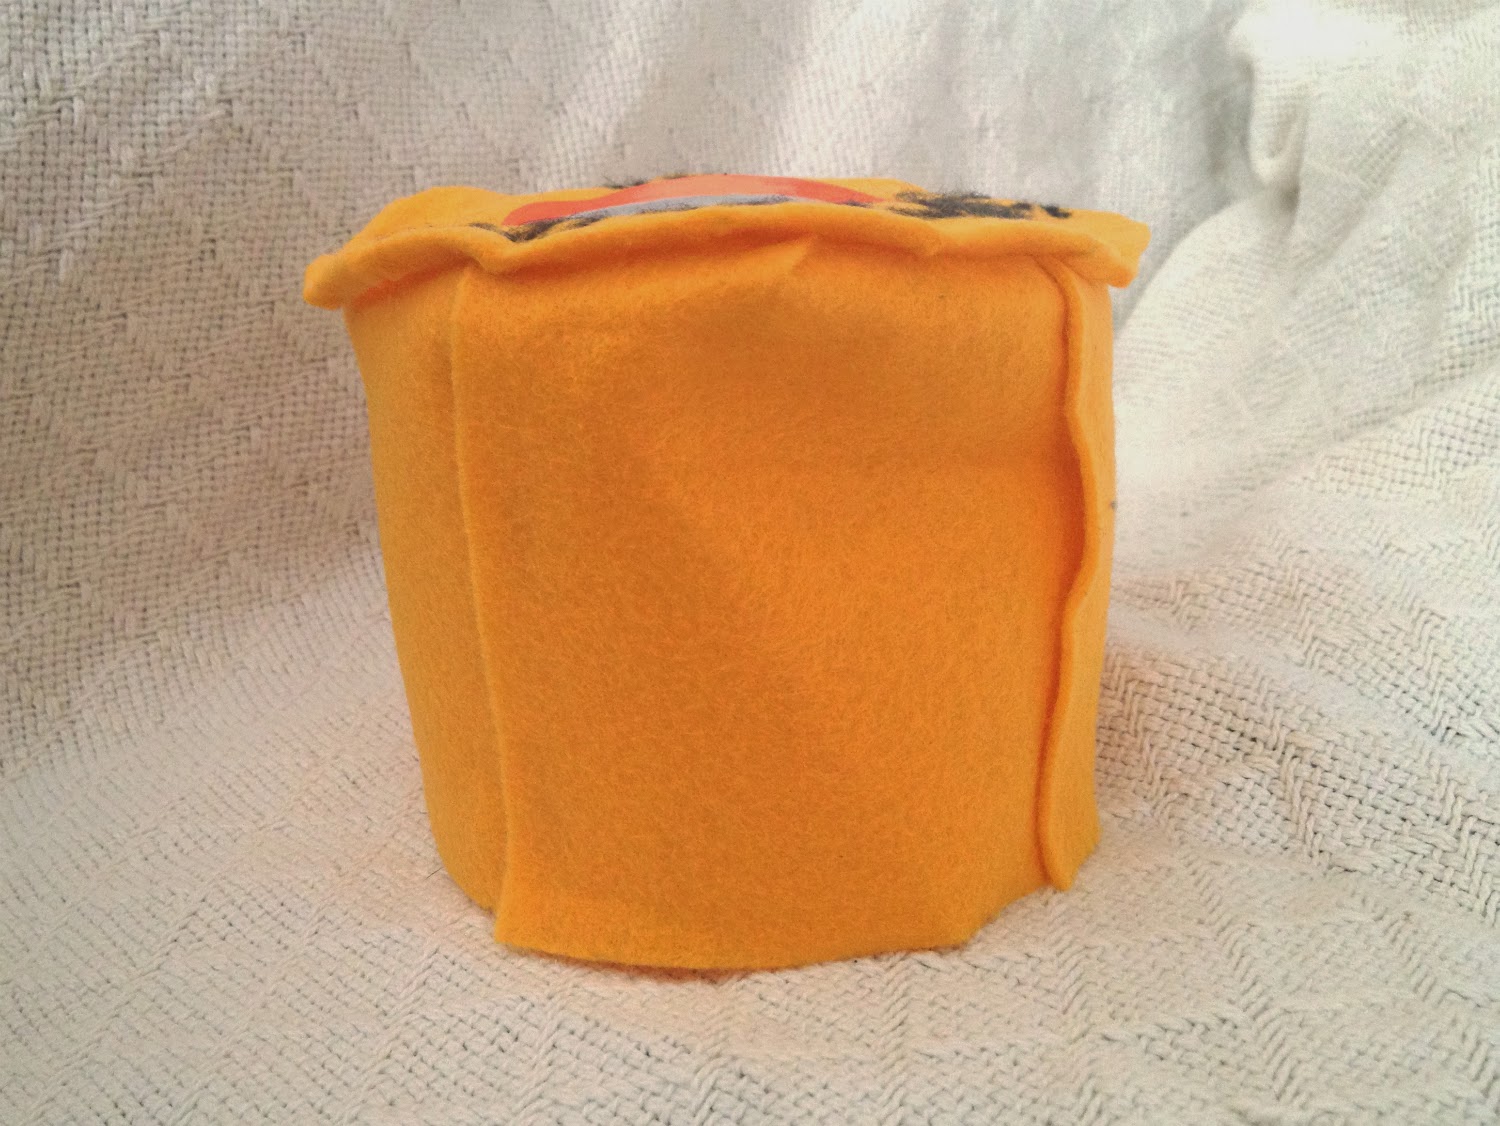
Make sure you make it tall enough so it stays on and the top can lay flat, plus an extra 1/2 inch to fold over so you can secure the top to it. Bring the ends together and secure with hot glue or a needle and thread. Make approximately 8 slits, more if your baby has a big head, at the top 1/2 down. Fold the pieces over on each other and secure.

The top is simply a felt circle that is a little bit bigger in diameter than the bottom part of the hat. Write the words onto the circle that you normally see on the metal part. For the middle, I cut out a circle from a piece of paper and painted it to match a used shell, then glued it to the middle of the felt circle. Secure the circle to the flaps.

That's it! To put it together, place the hat on baby's head, and insert the towel/fabric into the wrap or baby carrier. If you don't want it to flap around, secure the bottom with safety pins, strong hair pins, or anything else that can fasten the fabric to the carrier.


Simple, easy, and crazy cheap.
Towel/Fabric - free (since I had it laying around)
Felt - $0.58
How awesome is that?!