Hello again, everyone. It’s been five years, FIVE YEARS, since I last blogged. Why? Lots of stuff happened in that time: moving back to Illinois from Arizona, getting a job, and then a different job, and a DIFFERENT job, moving in with my father-in-law (barf), and buying a house! I just didn’t have time or motivation to blog, until NOW!
IKEA hacks are pretty popular right now, probably because their products are very minimalistic, so you can do all sorts of things to them. Of course I came up with my own, not because I wanna be trendy (insert glitter throw), but because the hacks are usually cheaper than buying a custom finished product.
My inspiration was this
product from Etsy:
And while I would’ve LOVED to pay for it, it wasn’t in my budget. Plus, the flowers and letters are HUGE, and my kid’s room is not the biggest. So I figured I’d do what any other penny-pinching parent (say that five times fast) would do: I made one myself!
Now, I suppose you could hack any bouquet of fake flowers from any old place, but I found mine at IKEA. They’re a pretty pink with some extra greens and baby’s breath, and the flowers are nice and full and big.
 |
| Big bulbous blossoms |
Besides literally just sticking the flowers to the wall, I didn’t know how to get to to look like the inspiration picture. Eventually I figured I’ll stick them to cardboard first, and then stick
that to the wall. Brilliant.
I didn’t want the stems, and these being fake flowers, it’s very easy to pull them off and pull the flowers apart layer by layer.
 |
| literally just ripped the flowers off of the stems |
 |
| Pulled the leaves off, then the flower petals, then the middle stuff |
I grabbed a piece of cardboard (we just moved into our house, so there’s cardboard EVERYWHERE) and laid out how I wanted the flowers to be arranged. No one wants to just start gluing all willy-nilly without a plan. Or at least I don’t.
 |
| Hm, yes. Quite. |
Then I started gluing the layers on one by one. I started with the leaves, then the biggest petals to the smallest petals. Be sure to line up the middles of the layers. There’s a hole where the stem went through, so just line up the holes.
 |
Hot glue your heart out.
Once the flowers were in place, I glued the greenery and the baby’s breath around the flowers, just in a way that looked balanced.
|
 |
| It makes sense in my mind. |
After letting the glue cool completely, I cut the cardboard down to just around the hot glue spots so it wouldn’t show when hung up on the wall. I don’t have a picture of this step because I didn’t think it was that important to show me cutting some cardboard.
Now, the letter was even easier if you don’t mind just using cardboard like me. And no, I did not just pour glitter all over a cardboard letter. I have a much easier way using this:
 |
| Basically just a roll of glitter |
This glitter table runner is perfect because the glitter doesn’t fall off, and it’s thin enough to be wrap around anything. Specifically, the board of card. I simply cut out a “K,” hot glued a square of the runner to the “K,” and cut the runner down to slightly larger than the letter. That way I had enough to wrap the glitter runner around the back, so you can’t see any of the board on the sides. The runner is plastic, so it is possible to melt it with the tip of the glue gun.
 |
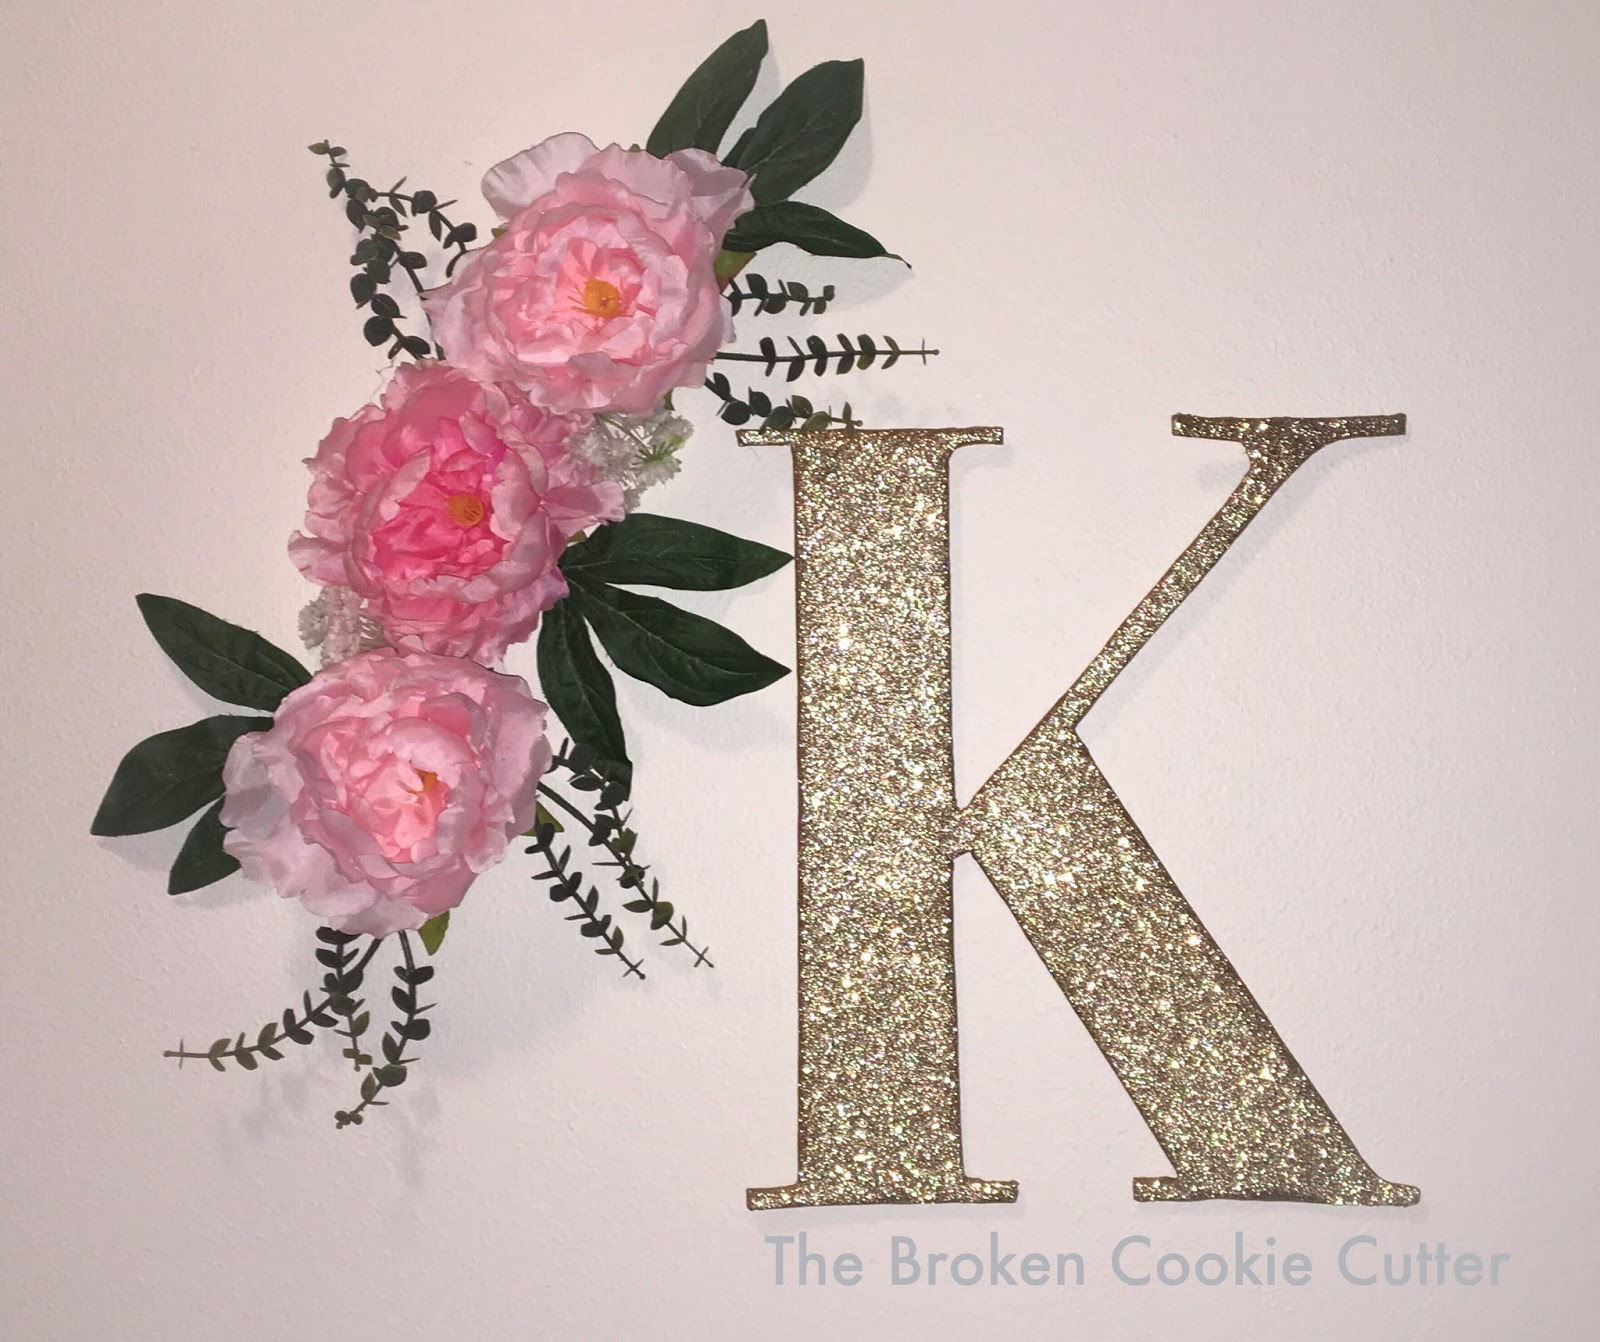
The finished product!
|
As I had mentioned, I didn’t want the flowers and letter to be too big, but if you want to go as big as the original product from Etsy, I suggest another bouquet and bigger cardboard. Heck, cover the whole wall. At least you won’t get glitter everywhere.
Happy crafting!